ABM066 / GMK70 SETUP GUIDE
1. Download the ABM066 or GMK70 JSON file.
Download the JSON file via the link below:
ZUOYA GMK70 JSON FILE (USB)
CIDOO ABM066 JSON FILE
Download the USB JSON file if you are editing the keyboard configuration while using wired USB connection. If you are using wireless 2.4ghz connection, please download the 2.4g file. The GMK70 has to be configured using wired connection.
2. Visit the VIA website for configuration.
VIA WEBSITE
3. Turn on the Design Tab.
Scroll to setting and turn on the design tab as seen below.
4. Upload JSON file and load keyboard configuration.
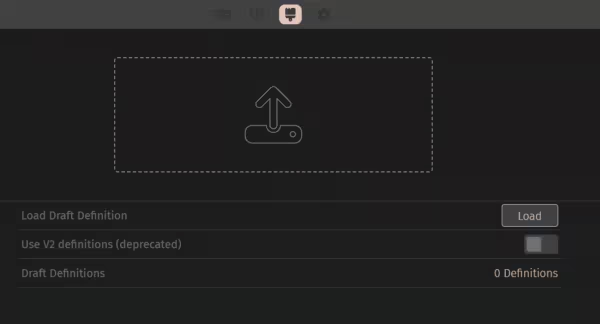
Upon turning on the design tab, you should be able to select the design tab which is denoted by a paintbrush.
Turn on the Use V2 definitions (deprecated)tab.
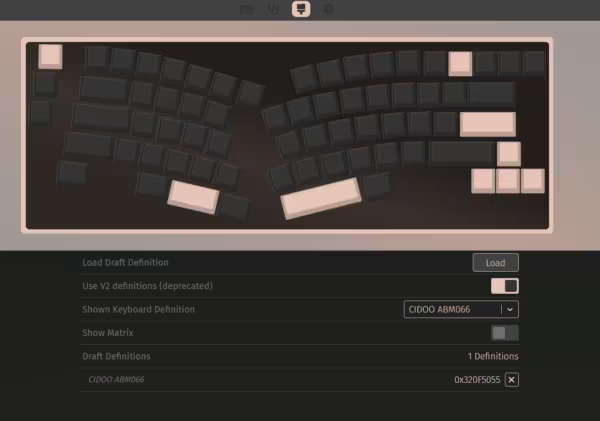
Click load draft definition and upload the relevant JSON file.
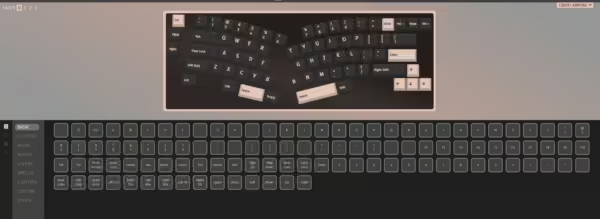
If done correctly, you will be able to see the keyboard layout as seen below or on the right.
5. Add device to VIA.
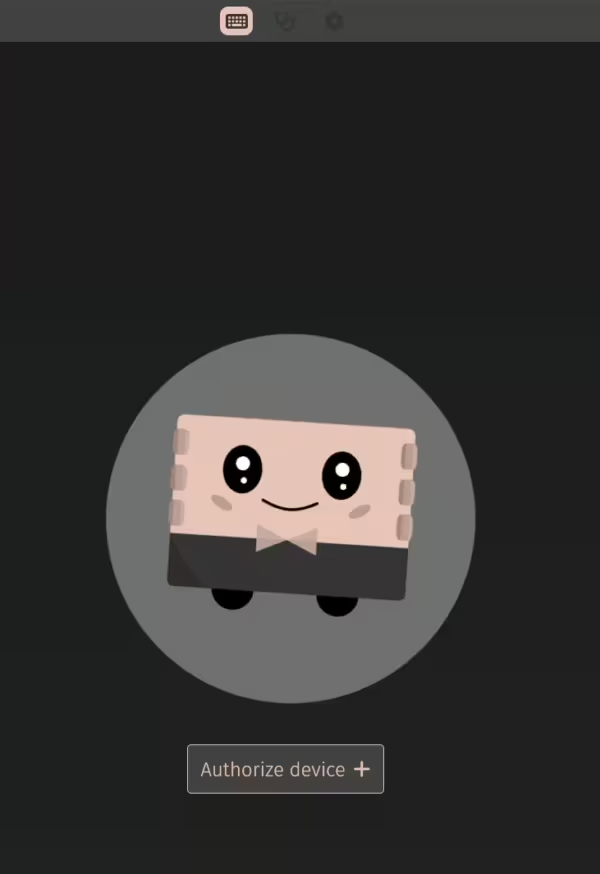
At this point, you may be prompted to authorize your keyboard and add it. If not, click on configuration and add your keyboard.
Click "Authorize Device" and add the ABM066 or GMK70 keyboard.
If you encounter issues with VIA reading your keyboard, it is recommended you use the wired connection along with USB JSON file.
5. You are ready to configure your keyboard!
If added successfully, you will be able to see this screen.
Please refer to the manual for more information on how to configure your keyboard, You can also find useful resources for customizing your ABM066 or GMK70 on Github.